
Science
|
Term 4, Week 2
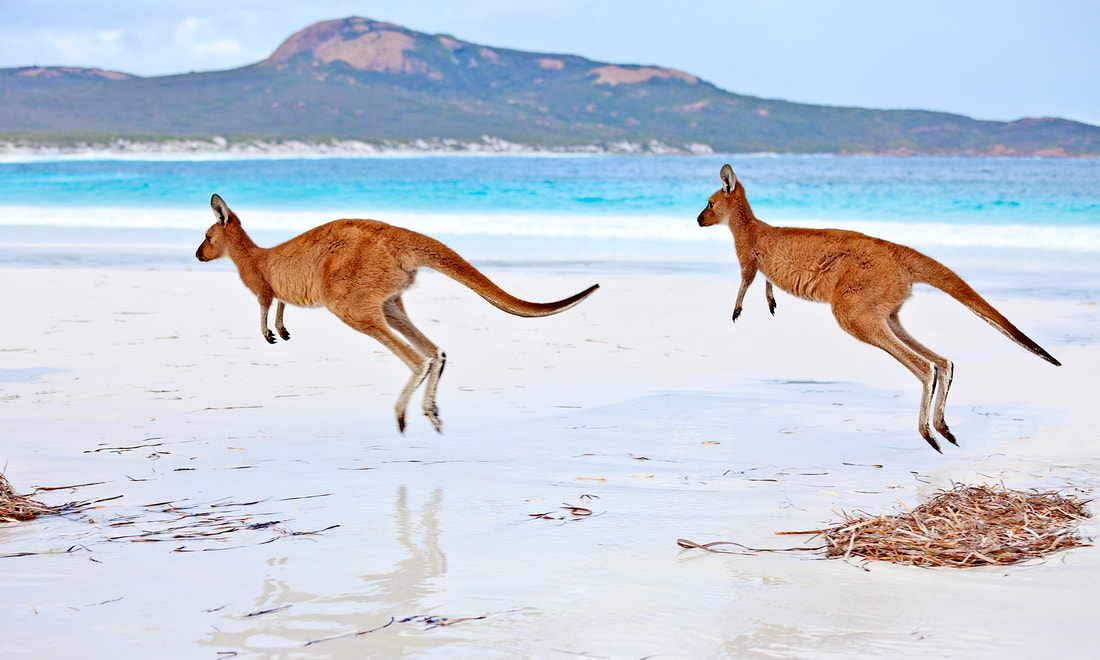
Observe things that move in your home and outside. How would you describe the way an ant moves? How would you describe the way a kangaroo moves? How would you describe the way a pram moves? Take a photo/draw an object or thing that; crawls rolls bounces |
|
|
Term 4, week 1
Play ‘musical statues’ ( move freely to music and attempt to stand still when the music stops) Questions: - What do we mean by ‘being still’? - Have you ever had to be still? - Where and when have you had to be still? Play a game of ‘musical statues’ with a partner (sibling/family member). While one person moves to the music, the other person observes themr moving and being still. QUESTIONS • When the music stopped did your partner move at all? • Did you see any part of their body move? • What sorts of movements did you see? Some body movements happen without us thinking about them, such as, breathing, blinking, swallowing, coughing and sneezing. Reflect on all the different ways your body can move. Complete the sheet “I can…” activity on seesaw. w Week 10
Lesson Intentions WALT: Create a windchime using suitable materials. TIB: It gives us an opportunity to show what we have learned about materials. WILF: I can choose the most suitable materials for my wind chime. Materials • suitable materials to make a waterproof windchime • coat hanger/long stick . • String. -sticky tape Watch the video to see how to make a windchime Kindergarten week 9
Lesson Intentions WALT: Describe the materials and properties of our favourite toy. TIB: It gives us the chance to use the language we have learned. WILF: I can describe the materials and properties of my toy. Lesson Steps 1 Play ‘Material Bullseye’, on seesaw, where students have to circle the things made out of a certain material. 2. Ask your child to choose a toy to describe. 3. Your child then completes their ‘My Favourite Toy’ seesaw activity to help describe their toy. . You can use the ‘Properties’ slide to guide your child. Year 1- week 9
From paddock to plate Have you ever wondered where our food comes from before it is in the supermarkets? This week we are going to be finding out more about where potatoes come from! Focus: Investigate where our food comes from before it hits the supermarkets! We are learning to investigate how our food is grown on farms and processed before we eat it Step 1: Watch the video where George the Farmer teaches up about the potato story from paddock to plate. Step 2: Draw a flowchart explaining how potatoes get from the farm to the recipe that is featured in the video. 
|


|


|
Kindergarten- Week 8
Billy Goats’ Bridge Lesson Intentions WALT: Investigate the strength of different materials. TIB: We need to understand that some materials are better than others for different purposes. WILF: I can find and sort strong and weak materials. Lesson Steps • We will be exploring which materials are strong or weak, and which would make the best bridge. • Read the book ‘The Three Billy Goats Gruff’, The goats have decided that they don’t want to interrupt the grumpy troll, and instead, they are going to build a bridge to get over in another spot. • Collect some materials and discuss their properties Plastic cups for bridge, string, straws, pipe cleaners, popsticks, paper etc. • Model how to test these materials by placing them on top of two cups and resting the ‘goat’ on top. Record on the seesaw activity if it was a ‘strong’ or ‘weak’ material. |

|
|
Year 1
Week 8 - Comparing Changes Focus - Investigating what materials change the quickest when removing heat and adding cold. Materials needed: - Zip-lock bags/containers - a freezer - 3 liquids that you have at home (examples - water, oil, honey, vinegar, sauce) We are investigating the freezing rates of different liquids. You will explore how liquids change their state when cooled, after different times. Watch the video Step 1: Gather 3 different types of liquid and a zip lock bag for each Step 2: Place some of the liquid into the Ziplock bag (approximately 2 tablespoons), making sure each of the liquids have its own bag, no mixing! Step 3: Put the 3 bags of liquid into the freezer Step 4: write what you see at the different points of being in the freezer using the seesaw template. |
|

Kindergarten- week 7
Lesson 7 – Heating up! WALT: Understand why different types of materials are used for different types of clothes. TIB: It will help us choose appropriate clothes to wear and to understand materials. WILF: I can choose warm materials and explain why I have chosen them. Lesson Steps • Tune in: Play ‘Why wouldn’t you…’ where your child can discuss why a certain material wouldn’t be suitable. E.g., why wouldn’t you build a boat out of spaghetti? • Work through the ‘Types of clothing’ slides and discuss which fabric/materials are most appropriate for certain activities and weather. Engage your child in a discussion about warmth, weight of fabric, durability and talk about why certain materials have been chosen for the clothing items. • Explain today’s activity: Making a jumper using suitable materials. Provide your child cotton wool balls to create their jumper by gluing the selected materials onto a jumper template. |
|
|
Year 1- week 7
Looking for a Change Focus - How does heating and cooling affect the properties of our food? Materials needed
|

| ||

Week 6- Kindergarten
Lesson Intentions
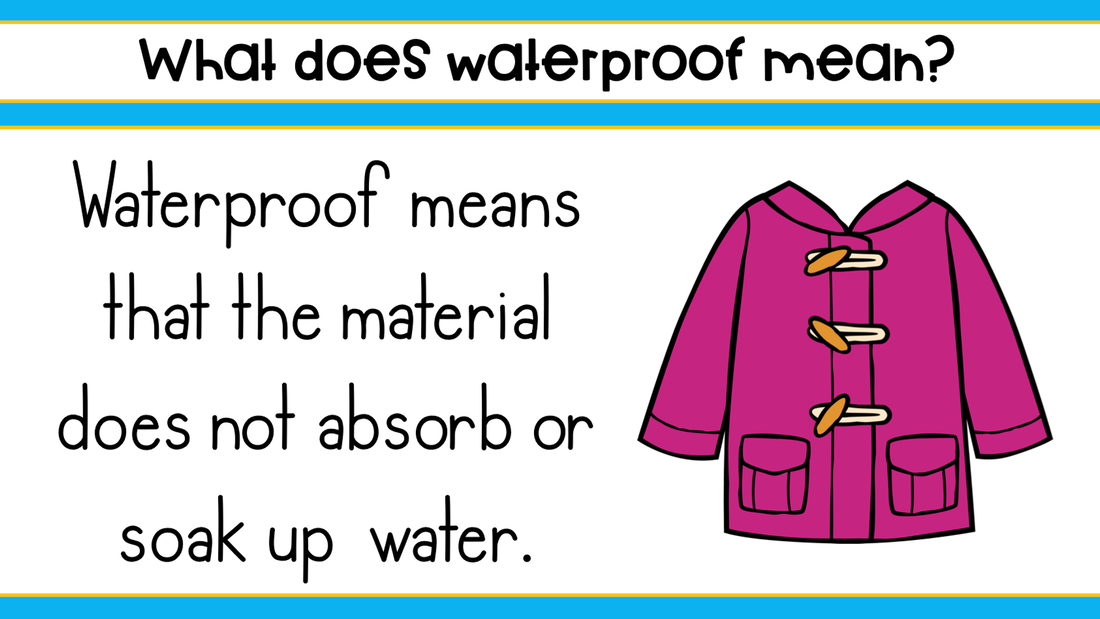
WALT: Understand which materials are waterproof.
TIB: It helps us choose suitable materials when we make and build things.
WILF: I can create a raincoat for teddy.
Lesson Steps
• Revisit last week’s lesson; exploring which materials were waterproof. What did we discover? Which materials were waterproof?
• Today they will be making a raincoat for teddy to show what they remember about waterproof materials.
• Students then make their own raincoat for teddy by selecting and gluing materials onto their raincoat.
Option 1- draw teddy
Option 2- print off template
Students share their waterproof raincoat on seesaw and explain why they choose that material.
Lesson Intentions
WALT: Understand which materials are waterproof.
TIB: It helps us choose suitable materials when we make and build things.
WILF: I can create a raincoat for teddy.
Lesson Steps
• Revisit last week’s lesson; exploring which materials were waterproof. What did we discover? Which materials were waterproof?
• Today they will be making a raincoat for teddy to show what they remember about waterproof materials.
• Students then make their own raincoat for teddy by selecting and gluing materials onto their raincoat.
Option 1- draw teddy
Option 2- print off template
Students share their waterproof raincoat on seesaw and explain why they choose that material.

|
|
Week 6- Year 1
Focus - How does temperature change food? Materials needed
Step 1: Watch clip Food Change - Chemical Sciences Stage 1 Step 2: Observe a slice of bread and a slice of toast -How can we tell that bread had been toasted? -What are the differences? (Think about adjectives like brown, crispy, soft) -What do we do to bread to change it to toast? -Can we change toast back to bread? Why? Why not? Add your observations to your Heat and Cool science journal Step 3: Observe the piece of chocolate -How could we melt it? -How will you know when it is melted? -Could we change it back to a solid piece? Why? Why not? -Add your observations to your Heat and Cool science journal Step 4: Observe the pop corn kernel How could you describe it? What changes once it is heated? Could we change it back to how it was before heating? Add your observations to your Heat and Cool science journal activity stencil found on seesaw. 
|


|
|
Science- Kindergarten
WALT: Understand which materials are waterproof. TIB: It helps us choose suitable materials when we make and build things. WILF: I can sort waterproof and non-waterproof materials. Today we will be conducting an experiment to investigate what materials are waterproof. What does waterproof mean? Why would something need to be waterproof? Experiment Steps -Gather some materials an (newspaper, tin foil, tissue paper, plastic bag and fabric). - Wrap a variety of objects with the materials (soft toy, lego etc) -Submerge the materials in water or spray them with water. -As you experiment, you may wish to record the results. After the experiment, you may ask ‘What did we learn?’ What did all of the waterproof materials have in common? How do we know something is waterproof? When would a waterproof material be useful? If you do not have any materials available or a short for time here is a great video to watch. |

|

Science- Year 1
WALT: Understand how materials change
TIB: It helps us choose suitable materials when we make and build things.
WILF: I can explain how the object changed
Change Mystery
Focus - How do materials change?
Materials needed
Step 1: Place an ice cube on a plate and leave it outside
Step 2: Observe the object at 10 minute intervals and ask yourself
WALT: Understand how materials change
TIB: It helps us choose suitable materials when we make and build things.
WILF: I can explain how the object changed
Change Mystery
Focus - How do materials change?
Materials needed
- ice cube/iceblock
- Plastic plate
Step 1: Place an ice cube on a plate and leave it outside
Step 2: Observe the object at 10 minute intervals and ask yourself
- How does the object change?
- Is it changing quickly or slowly? What impacts this change?
- Will you still be able to eat it? Why or why not?
- Can it be changed back to how it was before? Why or why not?
- How could we change this object more quickly
- Up load your responses to see-saw
We Are Learning To: Find and sort magnetic and non-magnetic materials.
This Is Because: We are learning to understand that different materials do different things.
What I’m Looking For: I can find magnetic and a non-magnetic materials.
Review what a material is- go for a hunt around your house for the items in the pictures.
This Is Because: We are learning to understand that different materials do different things.
What I’m Looking For: I can find magnetic and a non-magnetic materials.
Review what a material is- go for a hunt around your house for the items in the pictures.

Have a moment to think about
What a magnet is ?
Lets find out more about magnets.
Watch the video below.
What a magnet is ?
Lets find out more about magnets.
Watch the video below.
Term 3, week 3

Go for a hunt and find these items ( or something similar) from around your home.
Find out if they are magnetic.
See if you can find some magnetic materials around your home.
Find out if they are magnetic.
See if you can find some magnetic materials around your home.
Lesson: Material Hunt
Lesson Intentions We Are Learning To: Find materials in the environment to match a description. This is Because: We need to be able to understand that objects can be made of different materials. What I’m Looking For: I can find an item in the classroom that matches the material. 1.Play, ‘What’s in the box?’ and ask a family member to read the description in the slide. Then, have a guess what the mystery item is.
2. Lets review what a material is.

2. Go for a hunt around your home for different types of materials.
Draw the items you have found under the listed materials. 
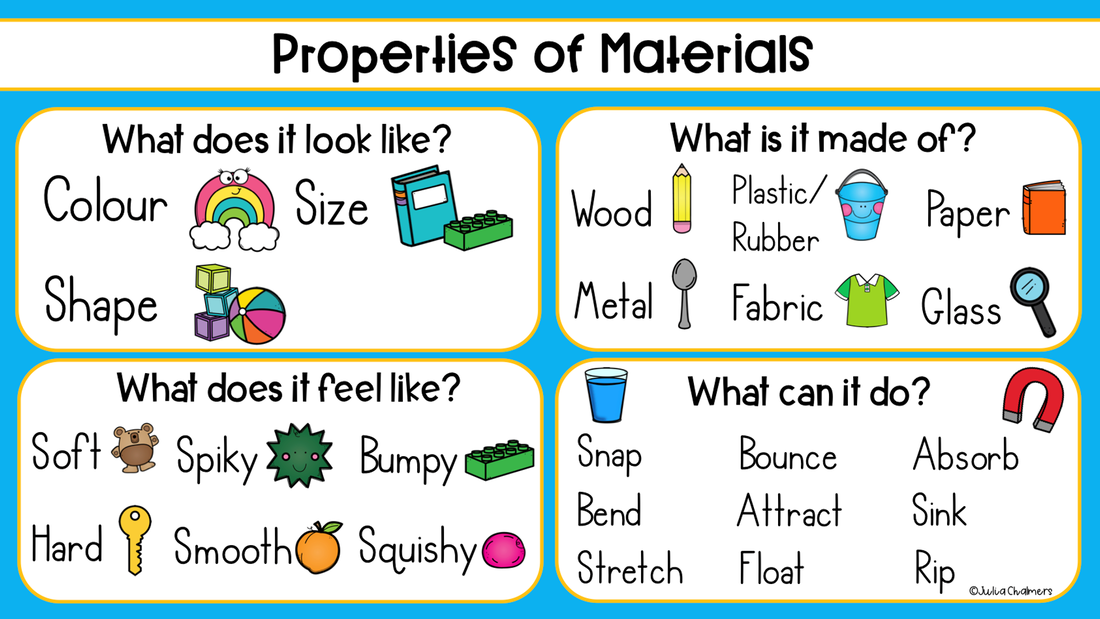
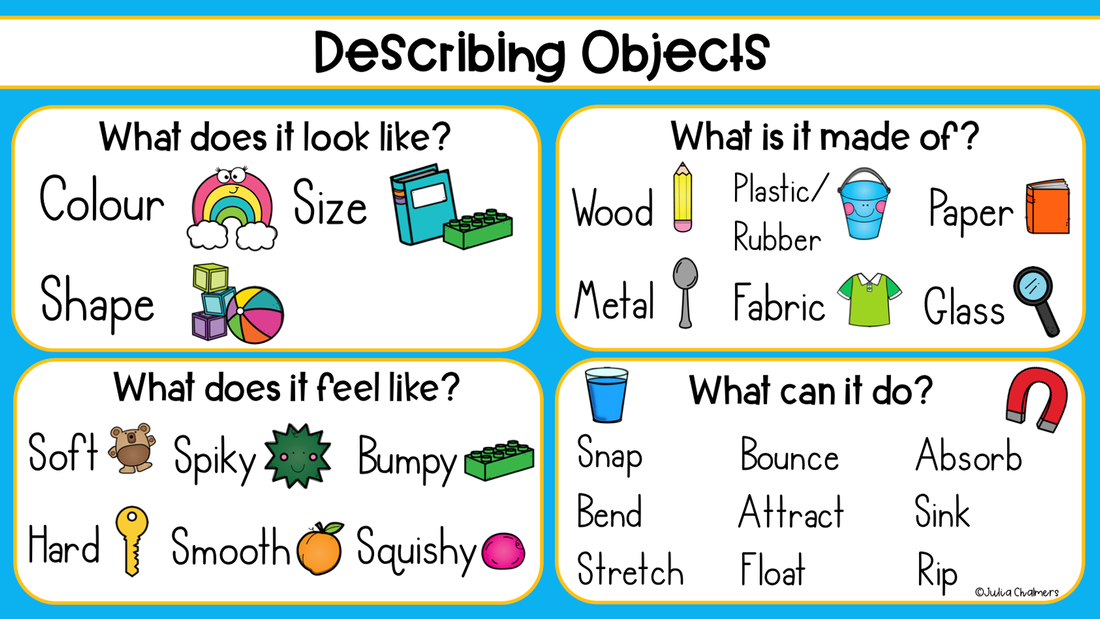
3. Choose one object and describe the properties of it.
Use the picture below to help you describe the properties. 
Watch the video about stretching materials
Find an item in your home that can be stretched. Term 3, Week 2Lesson: Describing Materials
Lesson Intentions
Today we are going to be exploring materials and learning how to describe them. 1. Read- What are properties? | |||||||||

|
2. Have a look and read through how I described play- doh.

|
3.
- Find an item in your home to describe.
- Use the picture below to help describe all the properties of it to someone at home.
- Draw a picture of your object and describe the properties. Upload your picture and description to see-saw.
- Find an item in your home to describe.
- Use the picture below to help describe all the properties of it to someone at home.
- Draw a picture of your object and describe the properties. Upload your picture and description to see-saw.
|
Year 1 extension |
1. Watch the video- https://www.youtube.com/watch?v=S0d0eIqaim8
Complete the stencil below on paper or share you answers with a family member.
Complete the stencil below on paper or share you answers with a family member.

NAIDOC WEEK ACTIVITY- Heal Country
Watch the video clip, Save Earth .
Talk to your child about why Aboriginal and Torres Strait Islander peoples call the Earth, Mother Earth and how it is our responsibility to look after her.
Ask your child to draw ways they can respect and care for Mother Earth.
Ask your child to draw
Extra reading
Hello and Welcome by Gregg Dreise (Penguin, 2021)